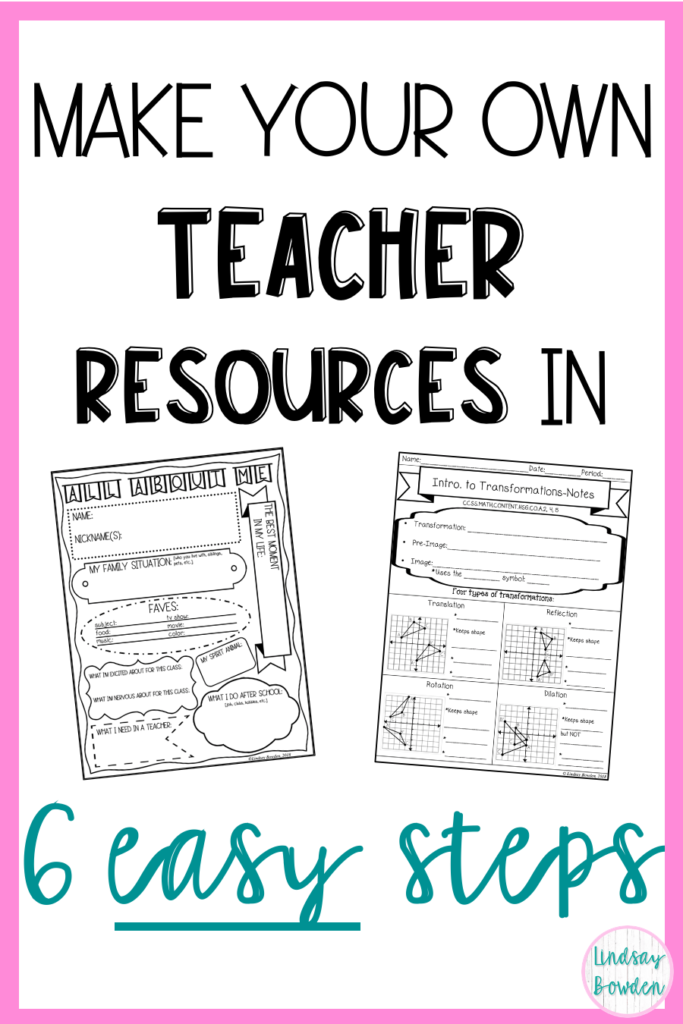
In this post, you will learn how to make worksheets for your classroom or to sell!
Have you ever looked for a worksheet online and just can’t find exactly what you need? That used to happen ALL the time to me!
I would Google a topic and find tons of resources, but then I would spend time whiting out the parts I needed to change. I knew there had to be an easier way!
Did I mention we don’t have textbooks? That’s one of the many reasons I decided to start creating my own resources for my classroom.
After a lot of research, I learned how to use Microsoft PowerPoint and Excel to make 100% of the resources I needed for my classroom.
Below are the 6 steps I use to create my own teacher resources.
You may also enjoy these posts: (Don’t worry, they’ll open in a new window so you won’t lose your spot here!)
Step 1. Choose Your Software

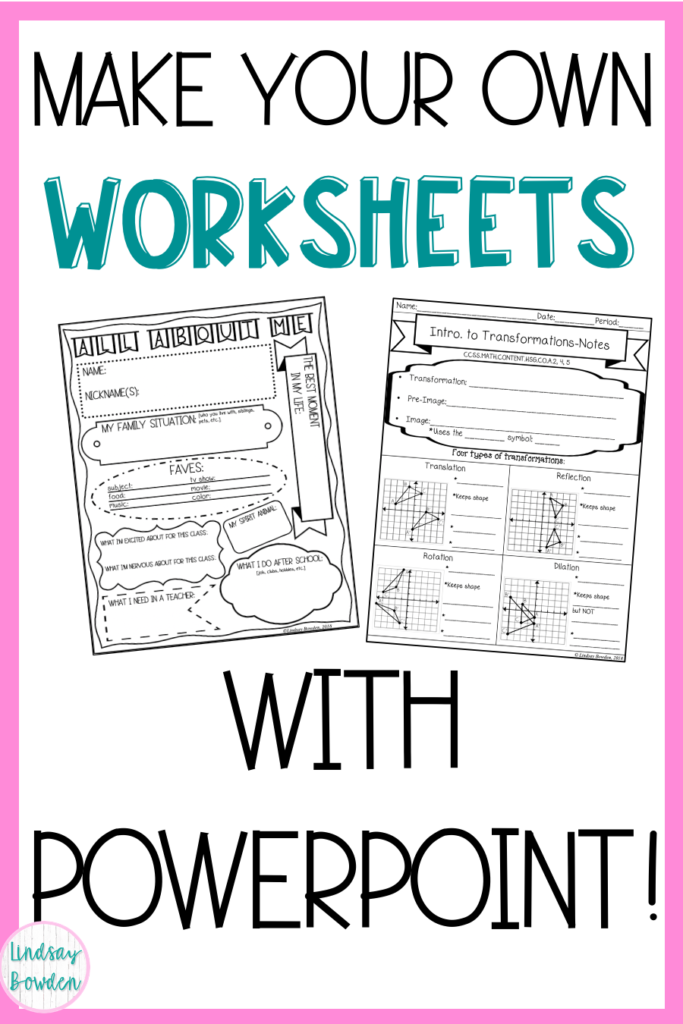
As I mentioned above, I use PowerPoint to make worksheets. If I need to insert a graph, I use Excel. I’ve tried making worksheets using Microsoft Word, and that was a nightmare. PowerPoint allows you to put text and graphics anywhere on the page. Much easier!
You may be thinking “Wait…PowerPoint? I’m not trying to make an old school slide presentation!” I thought the same thing at first. However, once you learn the ins and outs of PowerPoint, you can create any type of resource you need.
There are other software program options as well.
- Canva is useful for graphics and classroom posters.
- Acrobat Adobe allows you to edit PDF files.
- Google Docs allows you to make digital files that you can upload to the Internet.
Since I use PowerPoint and Excel exclusively, I will only refer to those in this blog post. Most teachers already have these programs, so you don’t have to buy extra software. If you don’t already have these programs, you can get Office 365 for free with your school email. This includes Word, PowerPoint, and Excel.
Step 2. Set Up Your Page
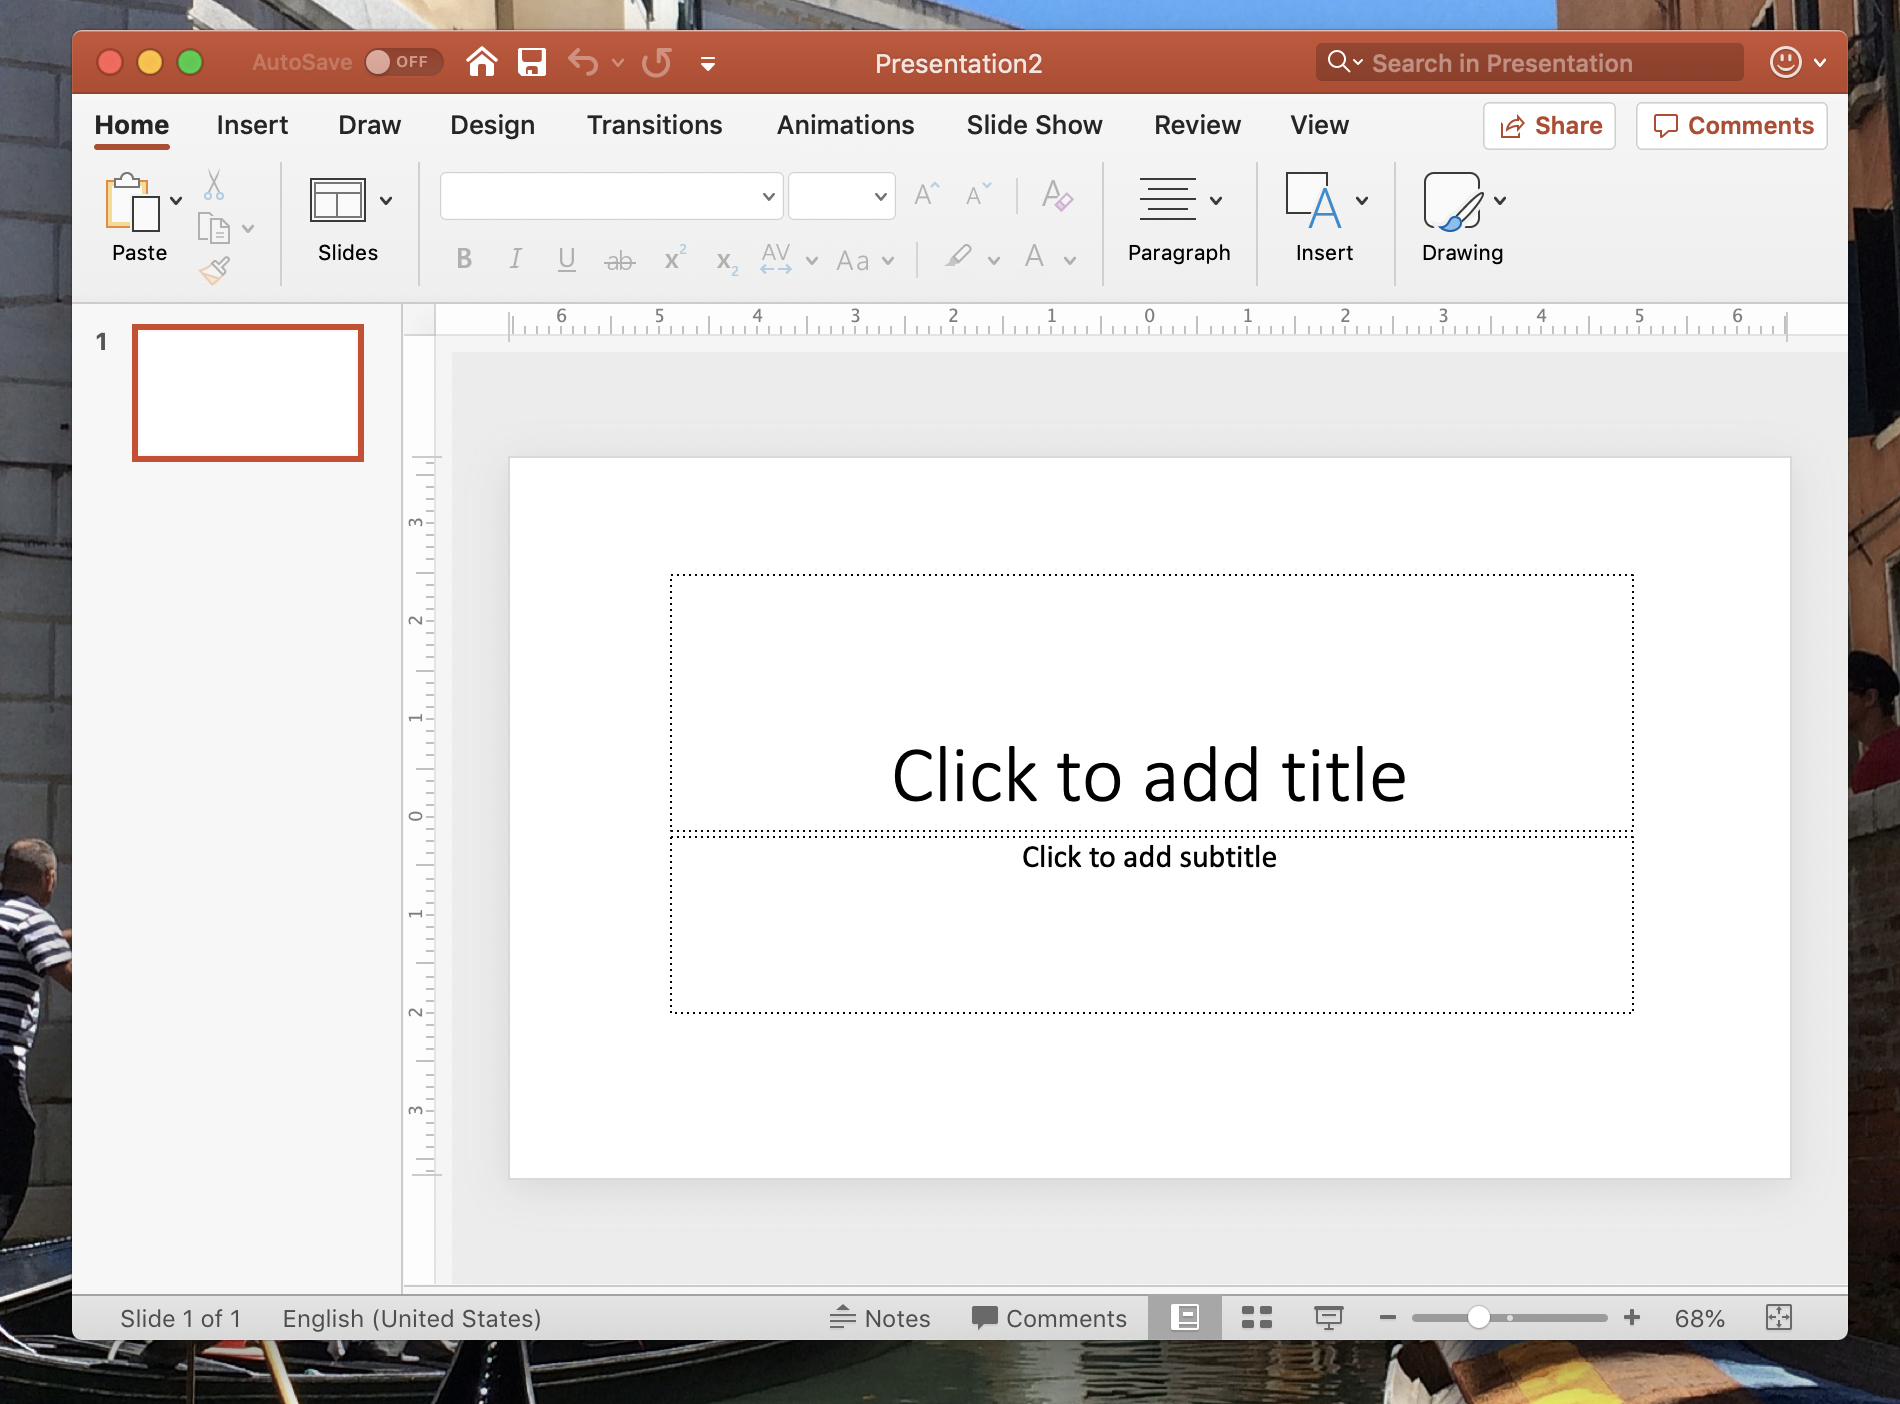
When you make worksheets, you want to start by setting up your page. I’m going to start with the very basics of setting up your PowerPoint document. If you are familiar with PowerPoint, you may be able to skip this step.
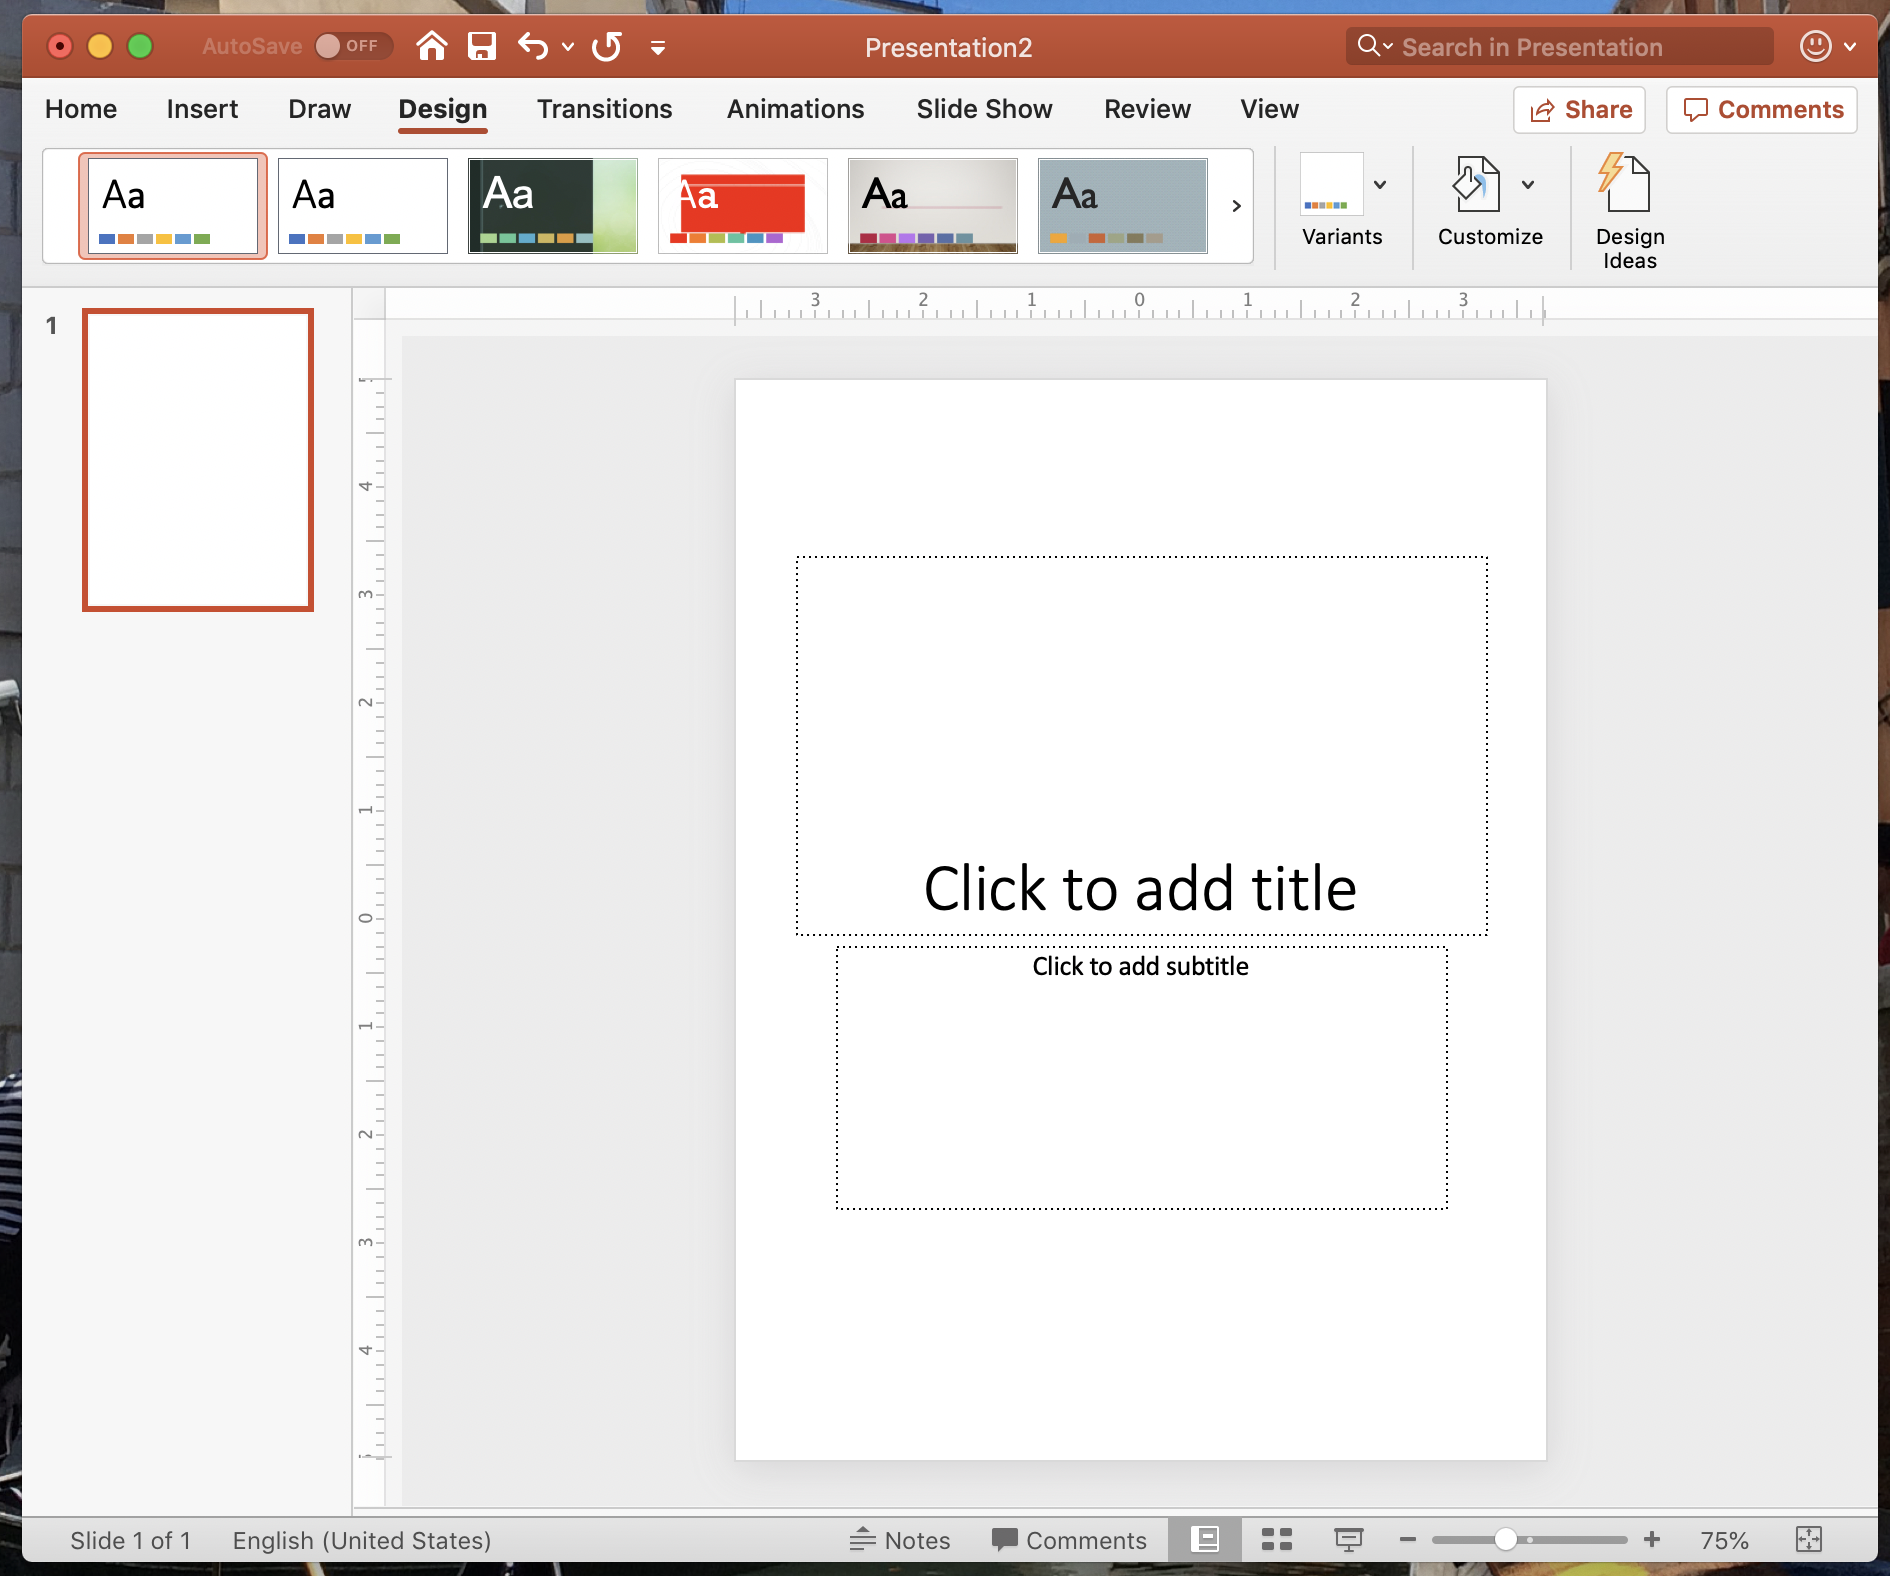
When you open PowerPoint, the page will look like this:
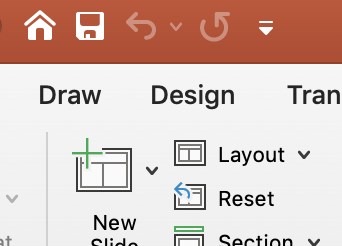
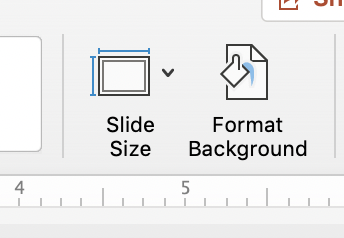
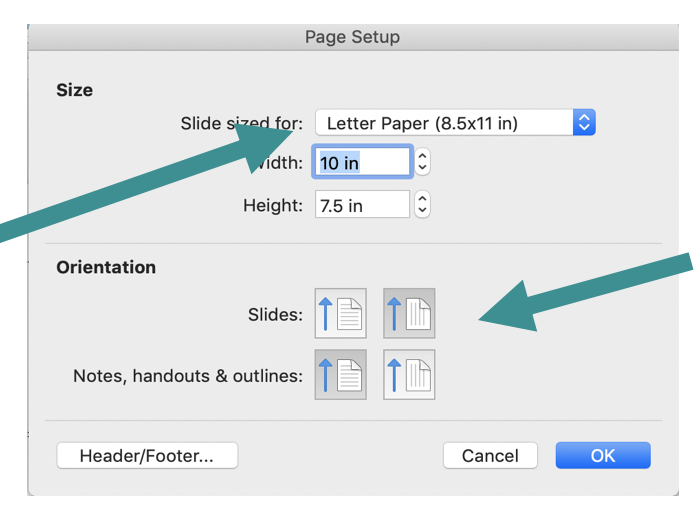
You will most likely want your page to be letter size (8.5″ by 11″), so you’ll need to change the page size. Click the “Design” tab at the top, then click “Slide Size” and “Page Setup…”

The page setup box allows you to change the page size and orientation (landscape or portrait).
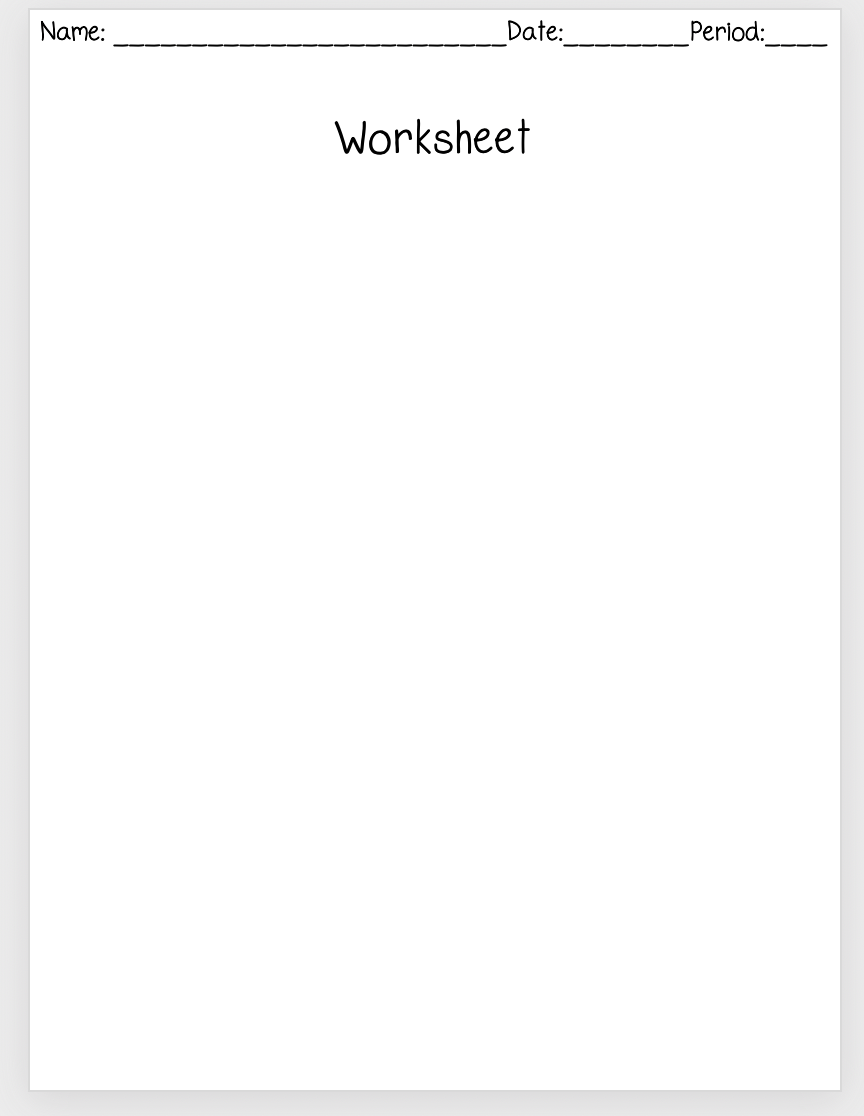
Now your page should look like the picture below. Delete any text boxes by clicking on them and pressing delete.
Step 3. Add Name and Title
Once your page is setup, you will probably want to add a place for students to write their name and a title. To add a text box, click “Insert” then “Text Box”.

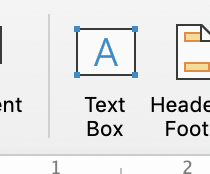
Click and drag your mouse to make a text box the size that you need. Then add text by typing.

Add another text box for the title of your resource. Your page should now look similar to the one below.
Step 4. Choose Your Fonts
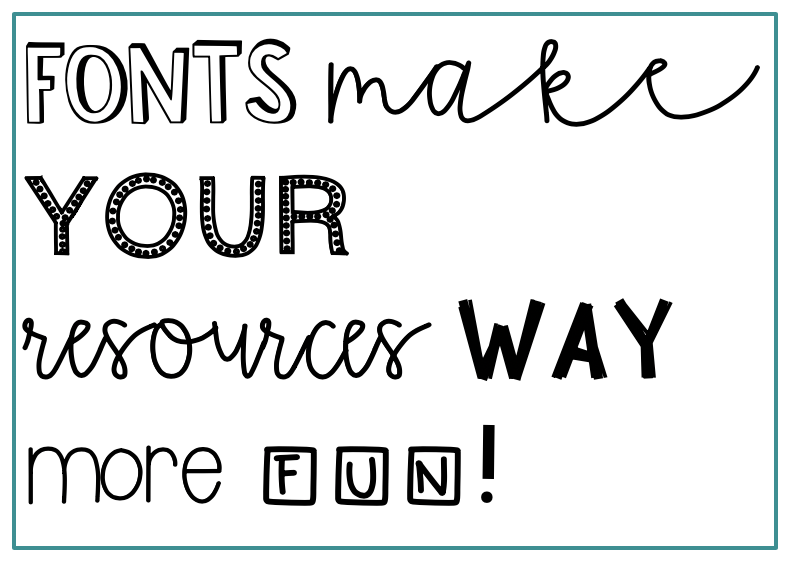
If you want to make worksheets with cute fonts (who doesn’t?!), then you’ll need to download new fonts from an online resource. There are free fonts online at Urban Fonts, Dafont, and FontSpace.
My favorite fonts can be found on Teachers Pay Teachers. Some of my favorite font creators are:
There are free and paid fonts on Teachers Pay Teachers. If you ever plan to sell your resources on Teachers Pay Teachers or another site, make sure you buy a commercial license for the fonts. A personal license is fine if you plan to only use the resources in your classroom.
Once you download a font or font collection, you will need to install them. For PC users, you will install them via the “Fonts” folder in your control panel. For Mac users, you will install them via the Font Book application.
Creative Market is another great place for unique fonts!
Step 5. Choose Your Clipart and Borders

Clipart and borders are another way to make worksheets stand out.
Just like fonts, there are tons of clipart resources online. My favorite Teacher Pay Teacher clipart designers are:
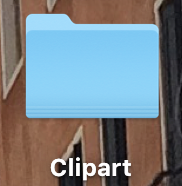
When you download a clipart set, you can make a folder on your desktop titled “clipart”. I keep all of my clipart in that folder so I can easily access them while designing resources.
Make sure you buy the correct license if you ever plan to sell your resources. You will need a commercial license, not a personal license.
Once you have the clipart and borders you want, you can click and drag them to your PowerPoint page. You can also insert them by clicking “Insert”, “Picture”, “Picture from File”. If your clipart is on your desktop, it should be easy to find.
You can make your clipart bigger or smaller by clicking the clipart and dragging one of the corners.
Step 6. Add Your Copyright

Finally, you want to copyright your awesome resource! This step is especially important if you ever plan to sell your resources. You don’t want anyone taking credit for your hard work.
To add your copyright, open a new text box.
Type (C) Your Name, Year
For example, I would type (C) Lindsay Bowden, 2019
The (C) will automatically change to the copyright symbol.
Put this in the bottom right corner of every pages to ensure your resources are protected.
Ready to learn more? Check out these other posts:
- Making Your Own MATH Resources
- Making Your Own GRAPHS
- Head to LindsayBowden.com/Training to sign up for my FREE training on creating engaging resources!
Happy teaching!