These 3 methods to rotate a shape were super helpful for my students!
Rotating a shape can be a difficult concept for both students and teachers. After seeing my students struggle with this topic, I came up with a few strategies to make rotations easier.
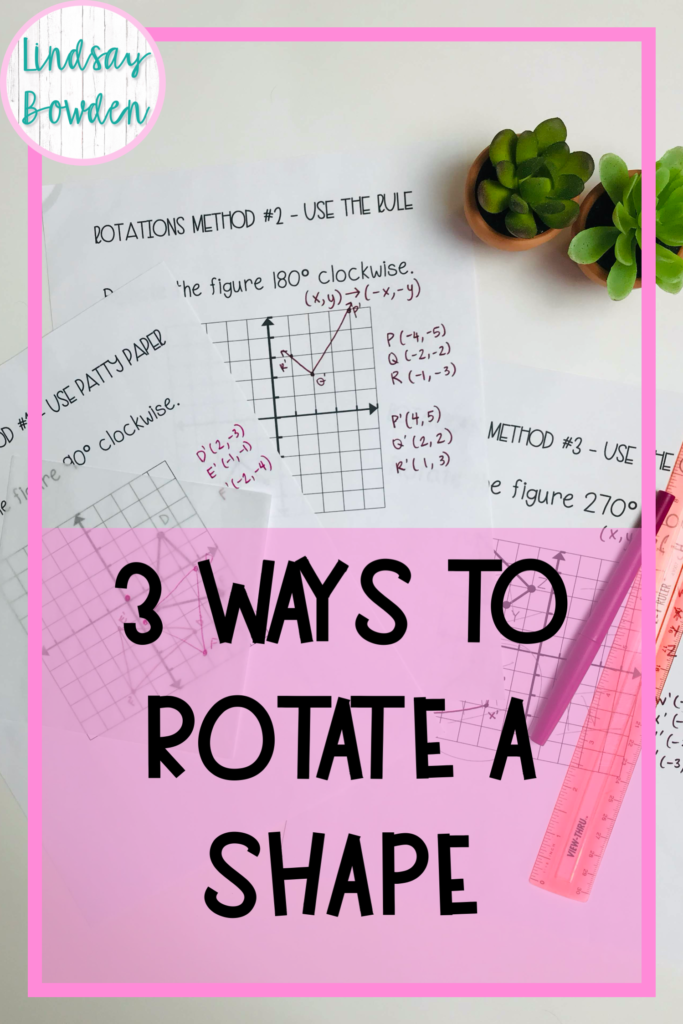
These 3 strategies work with different levels of learners. I encourage you to try all 3!
This article contains affiliate links to products. I may receive a commission for purchases made through these links.
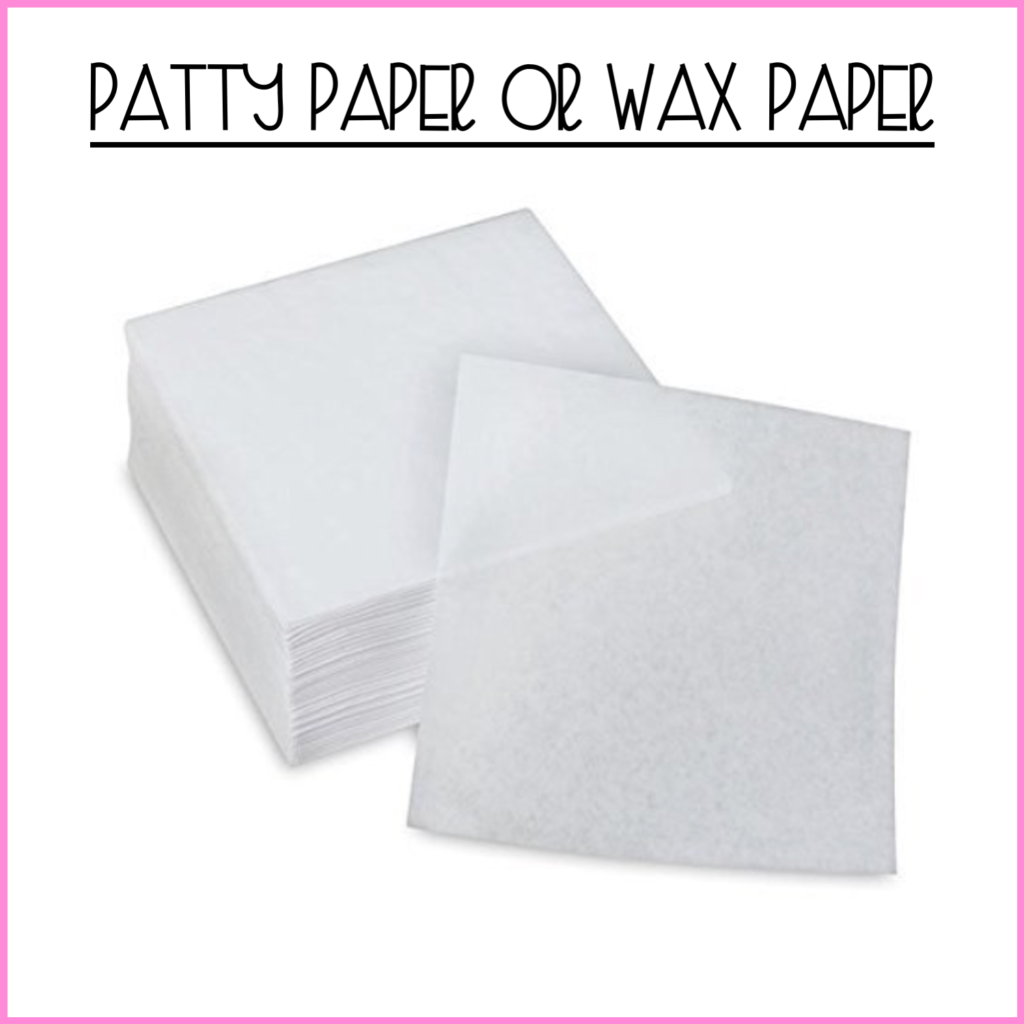
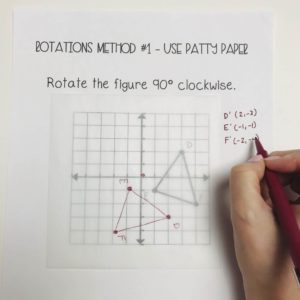
1. Use Patty Paper
Patty paper or wax paper is useful for so many math concepts! I always had plenty of patty paper in my classroom. This is the patty paper I use from Amazon. I love using patty paper to rotate a shape because it helps visual learners “see” the rotation before actual graphing it.
For this method, you will place the patty paper over the graph and trace the shape. You will also plot the origin (0,0) on your patty paper.
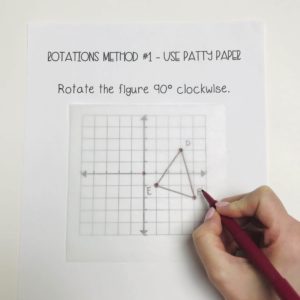
Next, rotate the patty paper. For this example, I wanted to rotate 90 degrees clockwise. So, I turned the patty paper one quarter turn to the right. Make sure you keep the origin on the patty paper lined up with the origin on your graph.

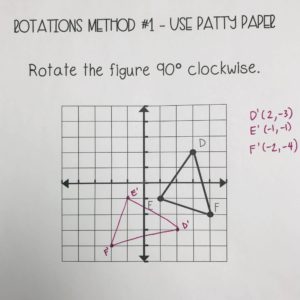
Next, write down the coordinates of your new shape.
Finally, remove the patty paper and graph your image.
2. Use Coordinate Rules
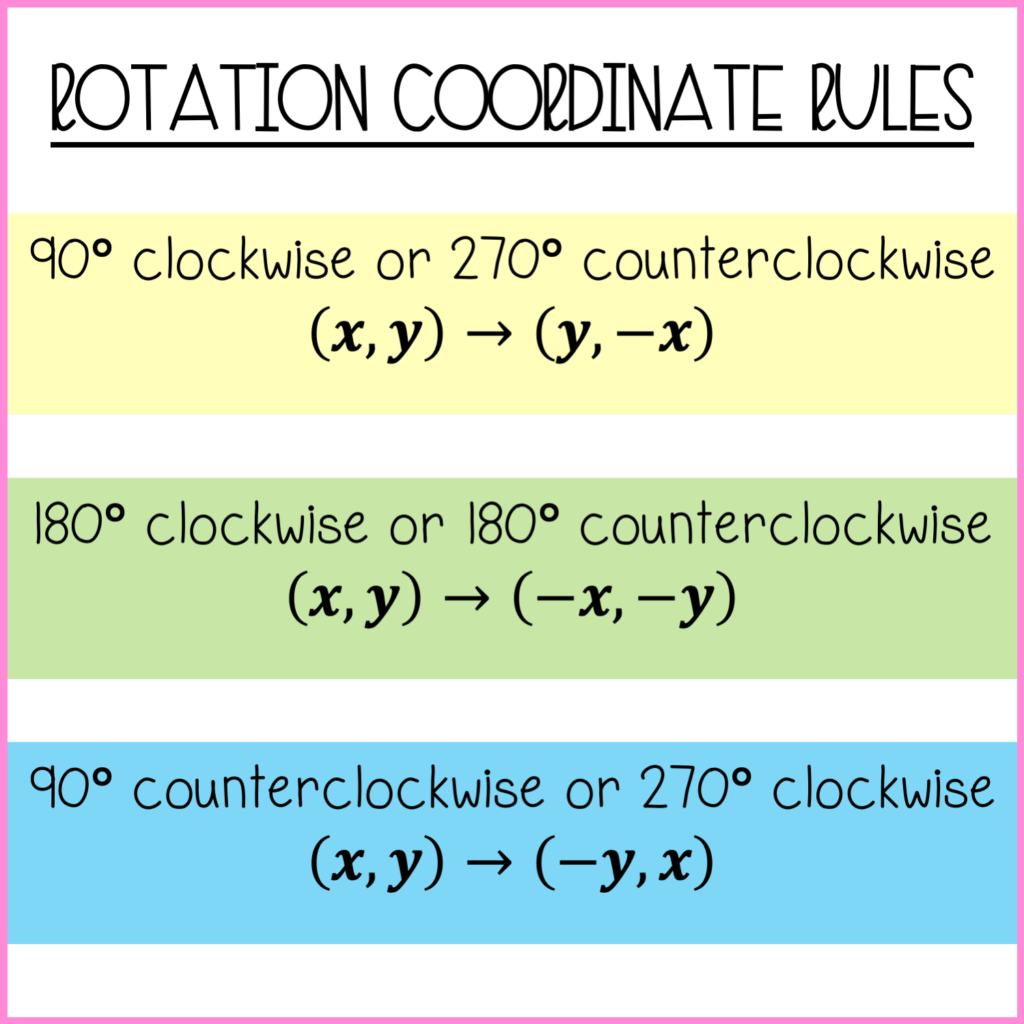
Coordinate rules are a great tool for transformations. There are three coordinate rules for rotating about the origin.
Using the coordinate rules to rotate a shape are great if your students aren’t allowed to use patty paper on the test. Check out the rules below.
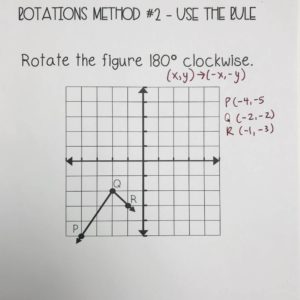
The first step for using coordinate rules to rotate a shape is to write the coordinate rule on your paper. For this example, I wrote the coordinate rule for 180 degrees.
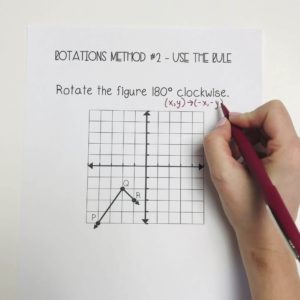
Next, write the coordinates of your pre-image.
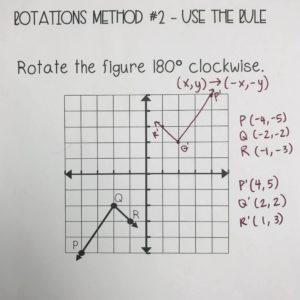
Then, use the coordinate rule to get the coordinates for your image.
For 180 degrees, the rule is (-x, -y). This means to change the signs of both the x value and the y value.
BE CAREFUL: The negative DOES NOT mean that the number must be negative. It means change the sign. So, if my pre-image coordinates are negative, they will change to positive.

Finally, graph the coordinates for your image.
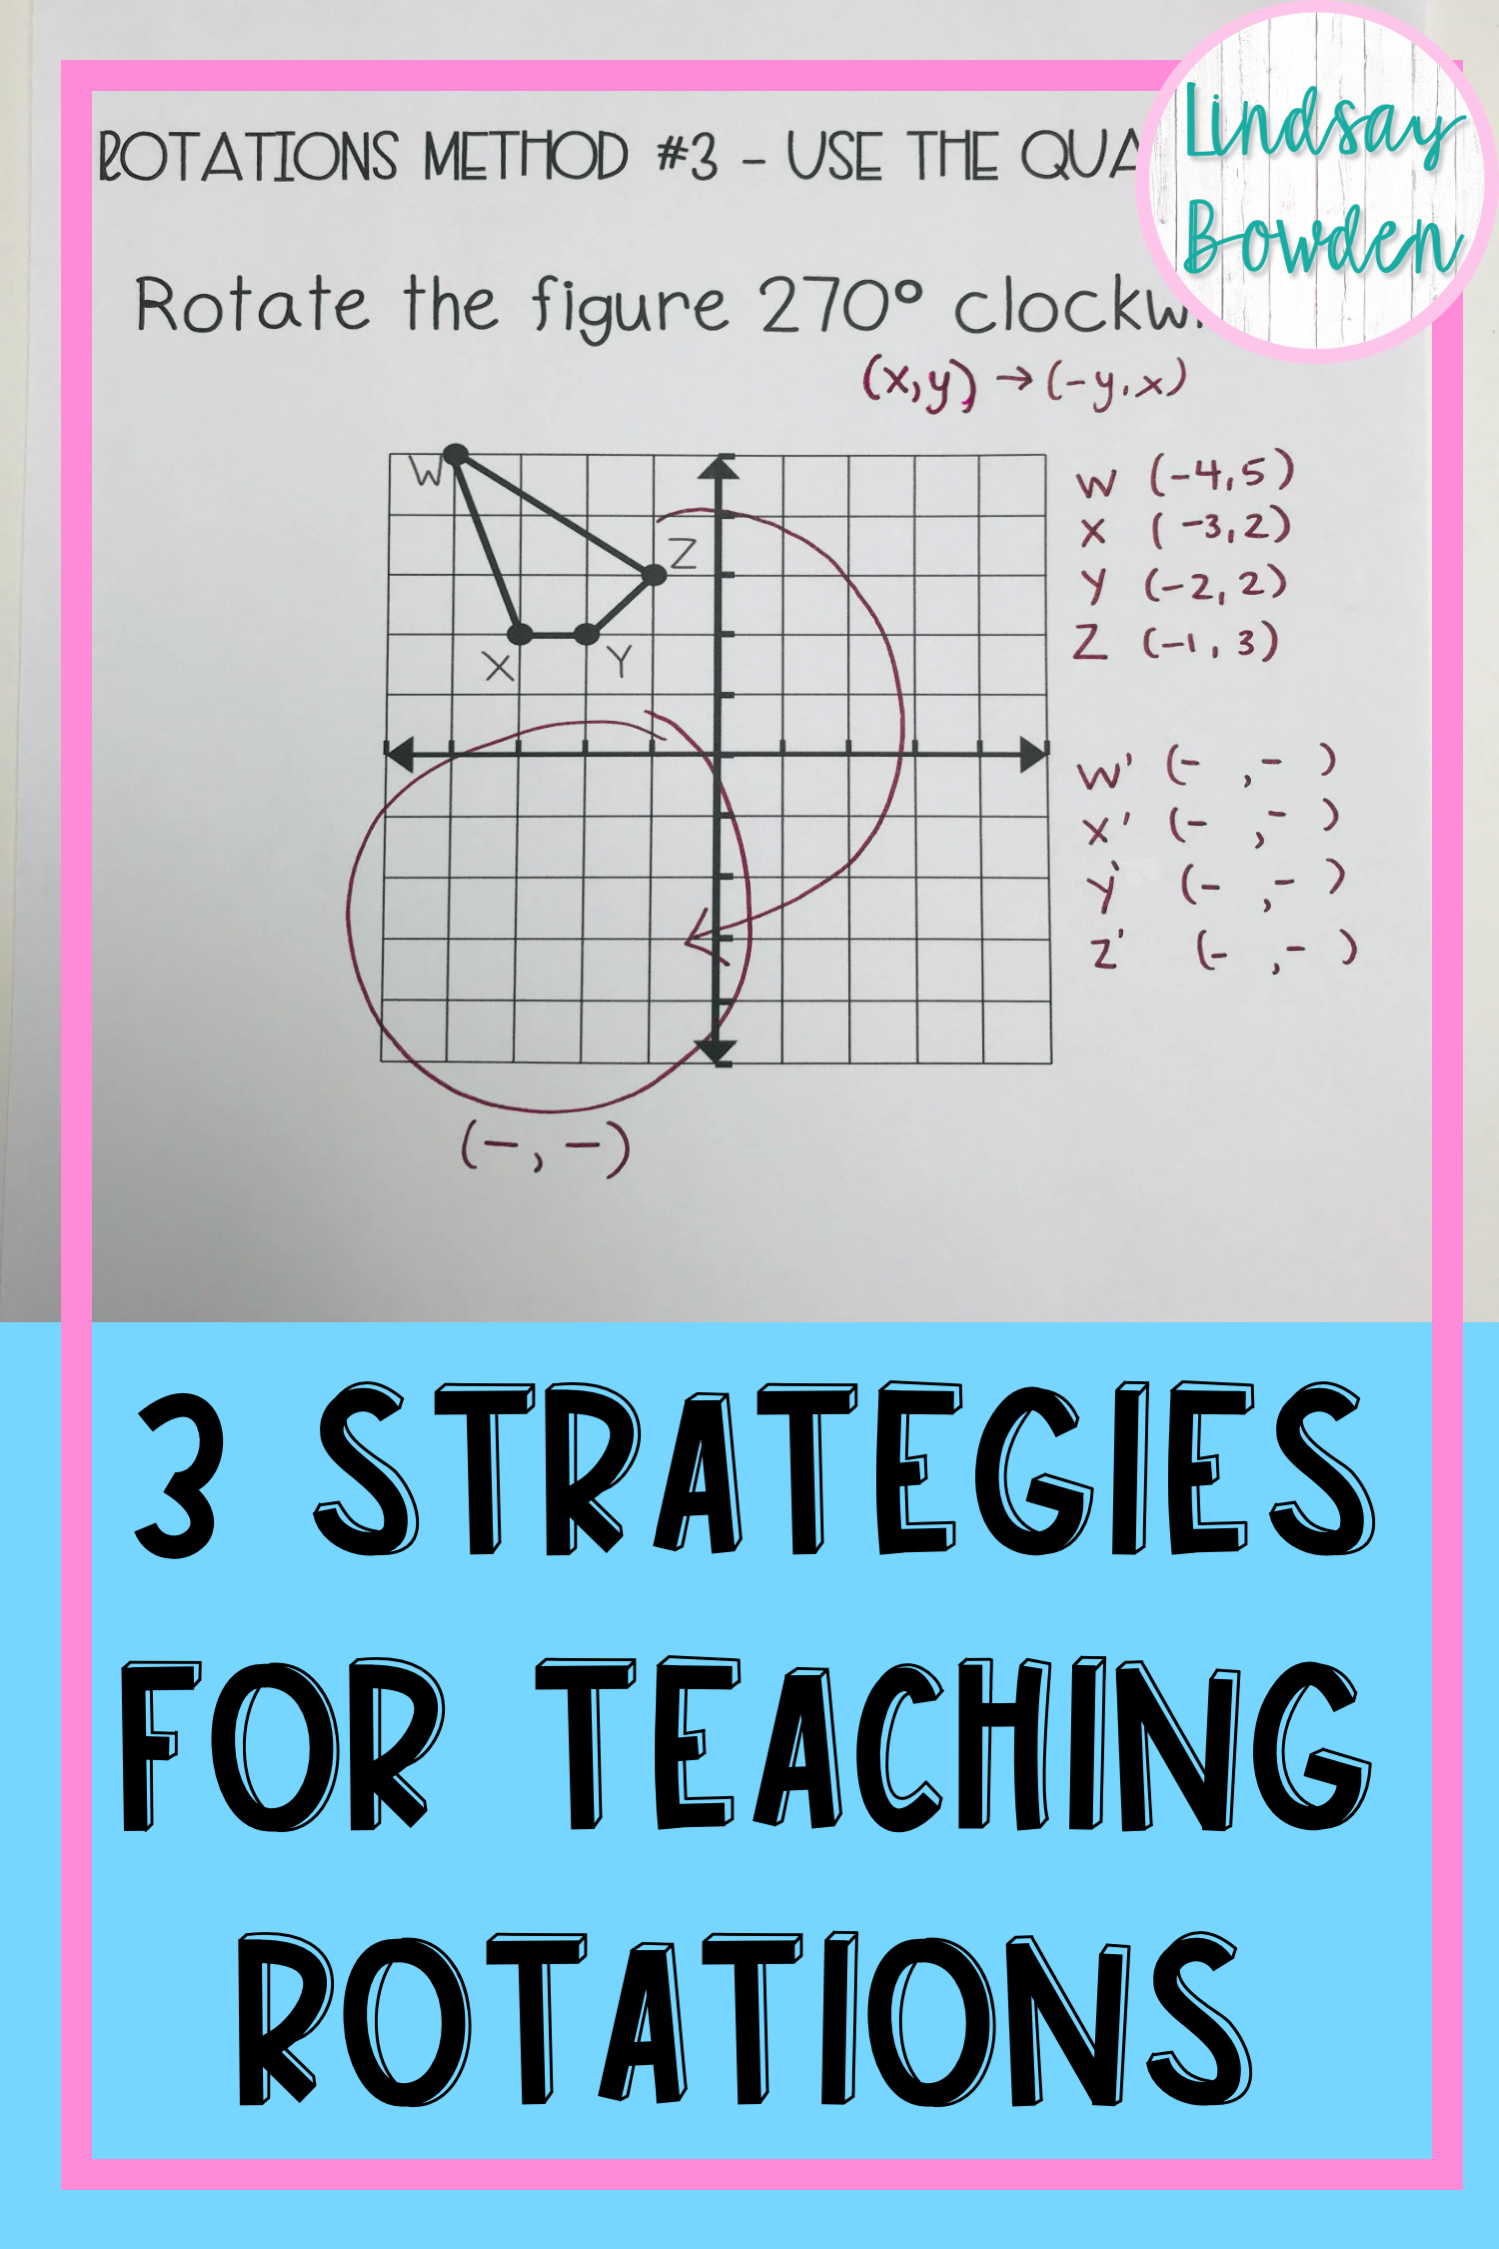
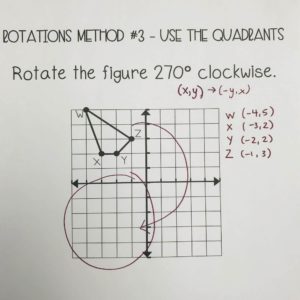
3. Use the Quadrants
This method is a variation of method #2. It’s my favorite method! It uses the four quadrants of the graph to rotate the shape.
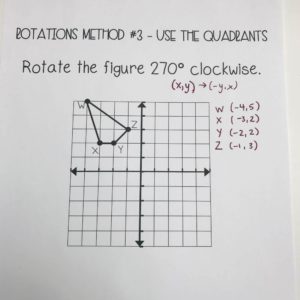
First, write down the coordinate rule and the coordinates of your pre-image.
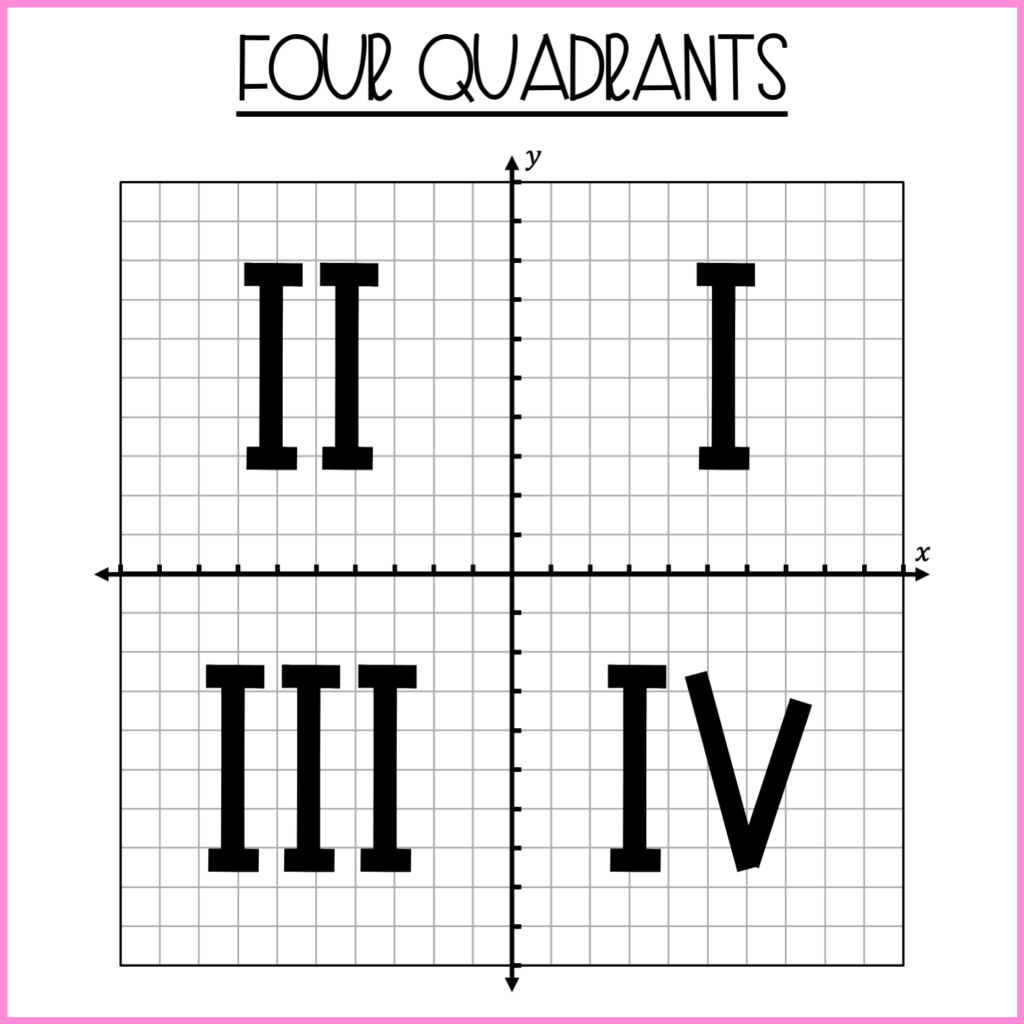
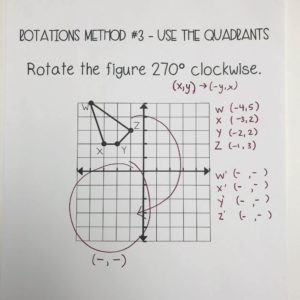
Next, determine what quadrant your image should be after the rotation.
In this example, the pre-image is in the second quadrant. If I rotate 90 degrees clockwise, the shape will be in the first quadrant. Rotating 180 degrees, will put the shape in the fourth quadrant. If I rotate 270 degrees, the shape will be in the third quadrant.
So, all points should be in the third quadrant.
The quadrant tells you what the signs should be for all of your coordinates. In the third quadrant, the signs are (- , -).
All of my coordinates for my image will have those signs.
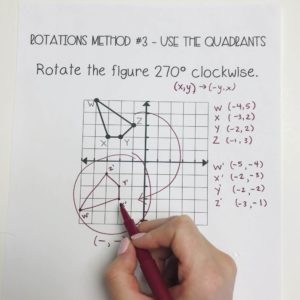
Finally, look back at the coordinate rule. For 270 degrees (and for 90 degrees), the rule tells me to switch the x and y values.
Since I already have my signs, I just need to switch the x and y values. So, since point W is (-4, 5), then W’ will be (-5, -4).
Do that for all the coordinates. Then graph your image.
I hope you liked these 3 strategies for rotating a shape!
Would any of these methods help you with rotations? Let me know below!
You may also like:
- 13 Free Math Worksheets and Activities
- How I Teach Proofs
- First Day of Geometry Free Activity
-
Head to LindsayBowden.com/Training to sign up for my FREE training on creating engaging math resources!